
Installing an in-ground swimming pool can be a luxurious and fulfilling endeavor. The installation process typically spans two to four weeks, depending on the pool’s size. Adequate time, finances, and space are essential for a successful project. In this blog post, we will outline the step-by-step process of installing an in-ground swimming pool.
Step 1: Choose a Pool Design & Location
Before commencing the installation, it is crucial to determine the pool’s desired location and design. Factors such as existing landscaping, climate conditions, and zoning restrictions should be considered. Once the spot is chosen, the pool’s shape and features can be planned.
Step 2: Excavate & Level the Site
Excavation begins after selecting the pool’s location. This involves digging out the area to create a level surface. The duration of this process depends on the excavation’s size. Once excavated, the area is leveled using a rake or tamping machine.
Step 3: Prepare Foundation & Install Frame
With the excavation complete and the ground leveled, it’s time to prepare the pool’s foundation. This includes laying down sand or gravel and installing support beams or joists for stability. Metal frame pieces are then attached around the pool’s perimeter to serve as anchors for further construction.
Step 4: Install Plumbing & Electrical Wiring
Plumbing and electrical wiring are essential components of an in-ground swimming pool. Plumbing brings water into the pool, while electrical wiring connects pumps and lighting fixtures. This step typically takes at least one day, depending on complexity.
Step 5: Construct Walls & Floor
Once the foundational work is finished, it’s time to construct the pool’s walls and floor. The duration of this step varies based on the chosen material, such as concrete or fiberglass, and can take anywhere from two days to a week or more.
Step 6: Fill with Water
After completing the construction, it’s finally time to fill the pool with water. This process generally takes one to three days, depending on access to water sources.
Step 7: Decking & Other Amenities
The next step involves installing decking around the pool’s perimeter and adding additional amenities like furniture and outdoor lighting fixtures. This step usually takes one day but may require more time for additional features.
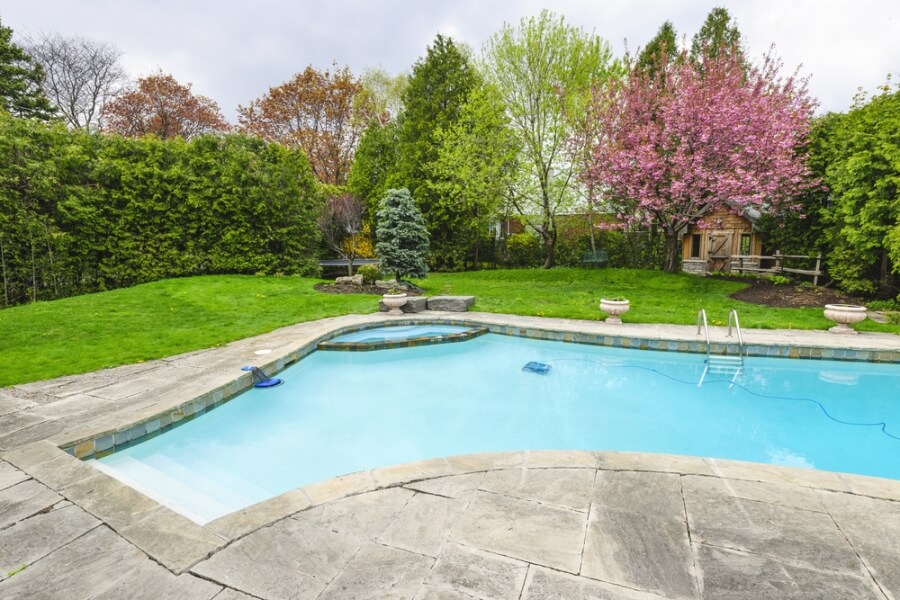
Step 8: Enjoy Your New Pool!
Congratulations! It’s time to relax and enjoy your new backyard oasis. After completing all the previous steps, you can now spend countless hours in the crystal-clear waters, creating lasting memories with friends and family.
Installing an in-ground swimming pool may seem overwhelming, but breaking it down into smaller steps simplifies the process. With proper planning, research, and commitment, anyone can transform their backyard into a stunning retreat in no time at all!